This guide provides instructions for georeferencing scanned images of paper maps using QGIS due to the fact that QGIS is free, open source, compatible with a variety of computer operating systems, and has georeferencing tools that are easy to learn and use (refer to the QGIS installation guide if you do not already have the software installed on your computer). The instructions provided in this guide are highly detailed to ensure that users are able to easily navigate the georeferencing process so you will notice that this guide is longer than most.
For the full guide instructions, continue reading below.
Instructions
- Open up QGIS to create a new QQIS project that you can work in for georeferencing scanned map images (see QGIS installation guide if you do not already have the software installed). Please keep in mind that this guide was developed for QGIS 3.x so if you have QGIS 2.x installed on your computer you will want to upgrade your installation before proceeding to ensure that these instructions match your software version. If you already have QGIS installed but are unsure which version you have on your computer, try opening QGIS and look closely at the splash screen that displays as the software loads - the version number should be prominently indicated. If you already have QGIS open, you can also check your version number by accessing the Help menu at the top of the screen and selecting Check QGIS Version.

- Once you have successfully opened QGIS you will notice that your project appears empty - this is because you do not have any data currently loaded into it. In order to georeference maps that do not have identified points with listed coordinate values, it will be necessary to match clearly identifiable points in the map (street corner, corner of a building, etc.) to those same features in a map, dataset, or satellite/aerial imagery that is already georeferenced. One of the easiest ways to obtain satellite imagery for anywhere on Earth that you can use for this method of georeferencing is to the load Google satellite imagery service into QGIS. To do this you must first install the QuickMapServices plugin. This plugin can be installed by clicking on Plugins > Manage and Install Plugins from the top QGIS menu. Once the plugin manager window appears, click on All in the left hand menu and then search for quickmapservices (all one word) to filter out other plugins from your list. Click the button to install the plugin. After the plugin has finished installing successfully, select Web > QuickMapServices > Settings from the top QGIS menu to pull up the plugin's settings configuration window. In this window, click on the More services tab and then click the Get contributed pack button so that you can use the plugin to access the full range of available map services. Once this has been configured correctly, you should be able to select Web > QuickMapServices > Google > Google Satellite to add a new global satellite imagery layer to your QGIS project. For this practice exercise, we will be georeferencing a historic map of the UT campus so go ahead and also zoom in on the imagery layer until you can see the full campus.
- Prior to starting the georeferencing process, it is a good idea to select your QGIS project coordinate system as this will make some of the upcoming steps in this workflow a little easier. To do this, click Project at the top of your QGIS window (Windows) or top of your screen (MacOS) and select Properties from the menu that appears. In the Project Properties window, click on CRS in the left hand column and then select the CRS you would like your project (and your georeferenced layers) to use in the main window panel. WGS 84 (EPSG:4326) is the standard coordinate reference system (CRS) used for georeferencing maps that are part of the PCL maps collection and it is recommended that you also select this CRS unless you have a specific reason for choosing another option. If you plan to publish your georeferenced map to ArcGIS Online as a hosted tiled image layer you should instead use the WGS 84 / Pseudo-Mercator (EPSG:3857) CRS. The easiest way to find either of these coordinate systems is to type WGS 84 in the Filter bar near the top of the Coordinate Reference System Selector window and then browse for it in the now narrowed list under Coordinate reference systems of the world (it should appear near the top of this list).
-
To start georeferencing click on Raster at the top of your QGIS window (Windows) or top of your screen (MacOS). In the drop down menu that appears, click on Georeferencer… to bring up the Georeference window. If you do not see the Georeferencer… option in this menu, that indicates that the Georeferencer… plugin has not yet been activated. To activate the plugin, click on Plugins at the top of your QGIS window and then select Manage and Install Plugins... in the drop down menu to pull up the plugin manager window which lists all available QGIS plugins. Scroll down the list of plugins until you find Georeferencer GDAL. Make sure the box next to this plugin in the list is checked to activate the plugin and then close the plugin manager window.


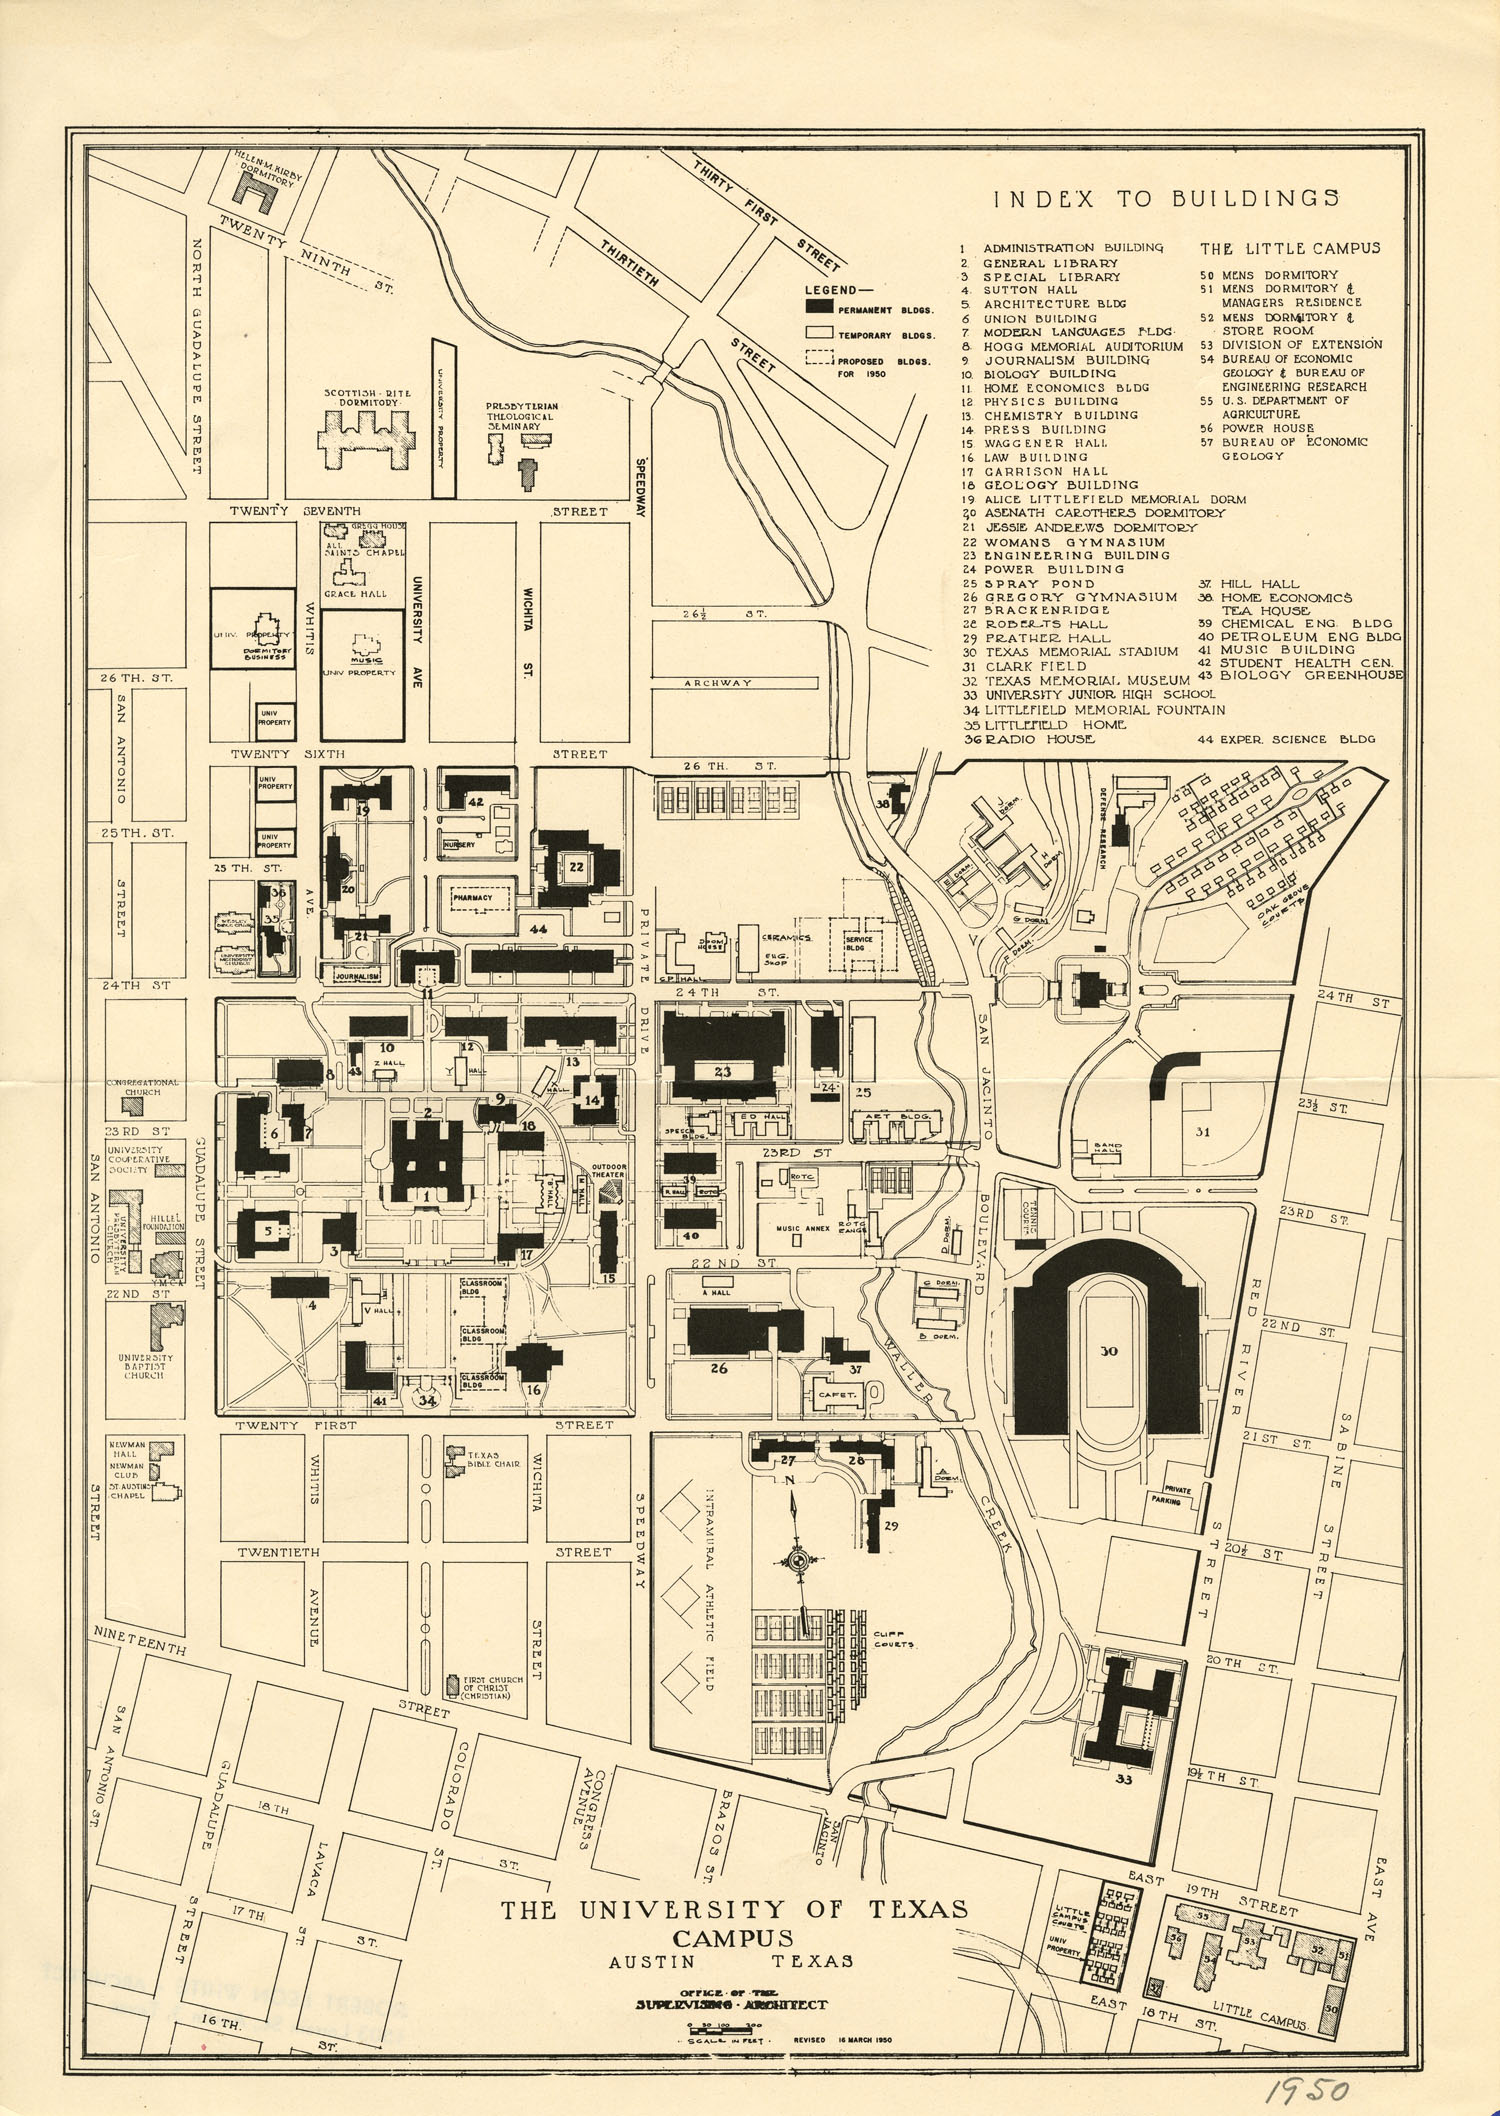
- Now, click the Open Raster button at the top left corner of the Georeferencer window and browse to the file system location of the map image file you would like to georeference, then click Open. If you do not have a map image file of your own to practice with, or just want to make following the remaining instructions in this guide as easy as possible, you can use the same 1950 map of the University of Texas at Austin campus map shown in the upcoming screenshots of the georeferencing process. You can download this map from the UT Libraries' PCL Maps Collection at http://legacy.lib.utexas.edu/maps/ut_austin/university_of_texas-1950.jpg, save it to your computer, and then browse to the location of the map image file from the Georeferencer window as described above. As long as you have already successfully selected a coordinate reference system for your project you should be ready to move to the next step. If there were any issues with the coordinate reference system selection you will notice the Coordinate Reference System Selector window appear after you select the map image you want to georeference. If you are presented with this window you should select the WGS 84 (EPSG:4326) coordinate system. The WGS 84 (EPSG:4326) coordinate system is a good option in most cases (and if you are voluntarily georeferencing maps from the PCL Maps collection, it is critical that this coordinate system be selected to ensure standardization). Once you have selected your coordinate system click OK and you should see your map appear in the Georeference window.

- To carry out the georeferencing we will now be selecting prominent features in the historical campus map that should also be clearly visible in the modern satellite imagery. It is a good idea to try and select between four and ten matching reference points (also known as tie points) that are spread out across different parts of your map. This is important to ensure that you map is georeferenced as accurately as possible, since too few reference points or reference points that are all clustered in one area of the map can cause the map to distort during the georeferencing process. For this particular map we will be using the four points shown in the graphic below. Start first with the circular planter area indicated in the top left image - in the Georeference window zoom in to this planter (located near the southwest corner of campus) then click the Add Point button to activate the tool and click on the center of the circular planter to add a tie point to the historical campus map. This action will bring up a pop up window where you should see a button titled From Map Canvas. Click on this From Map Canvas button to be temporarily taken back to your main QGIS document window, and then click on the center of that same circular planter in the satellite image. When you do this you should be taken back to the Enter Map Coordinates window and you should notice that latitude and longitude values have now automatically been added to identify the location of the tie point that you have selected which links the non-georeferenced historic map to the already georeferenced aerial imagery. Click OK to finish establishing this tie point. Repeat this procedure for the other three points indicated in the remaining images below to add a total of four tie points to the map.


- Once all four tie points have been successfully added, good go ahead and click the Save GCP Points As button in your Georeferencer toolbar. This will bring up a pop up window that will prompt you to select a save location and file name for your GCP points export. You should give this file the same name as original ungeoreferenced map image file (make sure to remove the .jpg or other image extension in the default file name suggested by the tool though so that it is not saved with a double extension like file.jpg.points). You should also save this file in the same location that you plan to save your georeferenced map image.

- After saving your GCP points, click the green arrow button for the Start Georeferencing tool which is located in your Georeferencer toolbar. The first time you georeferenced a map, this will bring up the Transformation Settings popup window where you have to select a few important parameters that will determine how the georeferencing process is carried out. In the top portion of this window, set the Transformation Type to Polynomial 1, set the Resampling Method to Cubic, and the Target SRS to the SRS you selected in step 3 above (e.g. WGS 84 (EPSG: 4326) or WGS 84 / Pseudo-Mercator (EPSG: 3857)). Under Output Settings, click the … button in the Output Raster row to select a location to save the georeferenced raster on your computer. When selecting this save location, makes sure that you keep the original name of the file and then append the following information to the file name _transformationtype_resamplingmethod_compressionmethod_coordinatesystem using underscores to separate each important attribute. Thus a map image file named txu-pclmaps-oclc-6587819-na-32 might be saved as txu-pclmaps-oclc-6587819-na-32_polynomial1_cubic_lzw_wgs84. Also, make sure to select the LZW compression type. Once you have correctly selected your parameters, click the OK button to apply your transformation settings and close your Transformation Settings window. At this point you will need to once again click on the green arrow button to start the georeferencing process with these transformation settings. The georeferencing process should complete in a few seconds and you will then see your newly georeferenced map image appear in your QGIS project canvas.


